Is there anything as rewarding as seeing your cat happily munching on a treat? As a new cat owner, you’re probably eager to find ways to bond with your feline friend and ensure they live a long, healthy, and joyful life. One of the best ways to do this is with homemade cat treats! Forget store-bought options packed with questionable ingredients. With just a little time and a handful of wholesome ingredients, you can create delicious, healthy snacks that your cat will adore. This guide offers five simple, vet-approved recipes that cater to different tastes and dietary needs. Get ready to treat your kitty to something special!

Why Homemade Cat Treats Are Purr-fect for Your New Pet
Choosing to make your own cat treats opens up a world of benefits that go far beyond a tasty snack. First, you control the ingredients. Many commercial cat treats contain fillers, preservatives, and artificial flavours that aren't ideal for your cat's health. By making treats at home, you can use fresh, natural ingredients, ensuring your cat gets the nutrition they need. You can also tailor the recipes to meet specific dietary needs, such as allergies or sensitivities. For example, if your cat has a chicken allergy, you can easily create recipes that use alternative proteins like fish or turkey.
Another significant advantage is the cost savings. While it might seem like a chore at first, making treats at home is often more economical. Plus, it’s a fun and rewarding activity. You get to spend quality time with your cat and watch them enjoy the fruits (and treats!) of your labor. Many cats are also picky eaters, so homemade treats can be a great way to encourage them to eat if they're a bit finicky. Homemade treats can also be used as positive reinforcement during training. When your cat does something you want them to, you can reward them with a treat.
Example: Consider the case of a cat named Whiskers, who has a sensitive stomach. His owner found that many commercial treats triggered digestive issues. By making homemade treats with limited ingredients like cooked chicken and sweet potato, Whiskers' owner could avoid allergens and provide a tasty snack that didn't upset his tummy. The cost savings were an added bonus!
Common Mistakes: A common mistake is using seasonings or ingredients that are toxic to cats, such as garlic or onions. Always research ingredients before including them in your recipes. Overfeeding treats can also lead to weight gain. Remember, treats should supplement a balanced diet, not be the main course!
Expert Tip: Start with simple recipes that use familiar ingredients. As you gain experience, you can experiment with more complex recipes and flavours. You can also consult with your veterinarian about the best treats for your cat, especially if they have any health conditions.
Essential First Steps for Homemade Cat Treats
Before you start making these delicious treats, a little preparation helps. First, you'll want to gather some basic kitchen tools: measuring cups and spoons, mixing bowls, a baking sheet, and parchment paper. A food processor can also be helpful for finely chopping ingredients, but it's not essential. Ensure you have a clean, dedicated workspace to prevent cross-contamination. Then, make sure you have a good quality digital kitchen scale for precise measurements.
Next, it's crucial to select fresh, high-quality ingredients. Look for lean proteins like chicken, turkey, or fish. Opt for vegetables and fruits that are safe for cats, such as pumpkin, sweet potato, and blueberries. Always check with your vet if you're unsure about a particular ingredient. Avoid any ingredients that are known to be toxic to cats, such as chocolate, grapes, or raisins. Be mindful of added sugars, salts, and preservatives. The fewer, the better!
Example: Sarah, a new cat owner, started making treats for her cat, Mittens. She initially bought pre-made, store-bought treats, but they didn’t agree with Mittens’ sensitive stomach. Sarah then decided to make her own treats at home. She purchased organic, free-range chicken breasts, fresh sweet potatoes, and a bag of organic catnip. Within a few weeks, Mittens' digestive issues were gone, and Sarah was able to save money and control what her cat was eating.
Common Mistakes: Not properly measuring ingredients can throw off the recipe and make the treats less appealing to your cat. Another common mistake is not storing treats properly. Homemade treats should be stored in an airtight container in the refrigerator for up to a week or in the freezer for longer-term storage.
Expert Tip: Start with small batches to test your cat’s reaction to the recipe. If they love it, you can increase the batch size next time. Also, remember to introduce new treats gradually to avoid upsetting your cat’s stomach.
5 Purr-fect Homemade Cat Treat Recipes
Now for the fun part: the recipes! Here are five easy and delicious homemade cat treat recipes that your feline friend is sure to adore. Remember to always supervise your cat while they are eating and to adjust the serving size based on your cat’s size, age, and activity level.
1. Chicken & Pumpkin Bites
These treats are packed with protein and fibre, making them a healthy and satisfying snack. Pumpkin is also great for digestion.
Ingredients:
- 1 cup cooked, shredded chicken breast
- 1/2 cup pumpkin puree (make sure it's 100% pumpkin, not pumpkin pie filling)
- 1/4 cup oat flour (or whole wheat flour)
- 1 egg
Instructions:
- Preheat your oven to 350°F (175°C). Line a baking sheet with parchment paper.
- In a mixing bowl, combine the shredded chicken, pumpkin puree, oat flour, and egg.
- Mix until well combined. The mixture should form a dough-like consistency.
- Roll the dough into small balls or use a cookie cutter to make fun shapes.
- Place the treats on the prepared baking sheet.
- Bake for 15-20 minutes, or until golden brown and firm.
- Let the treats cool completely before serving.
2. Tuna & Catnip Crispies
These treats are a great way to incorporate the irresistible scent of tuna and catnip. Catnip is known to excite some cats, but is safe in small doses.
Ingredients:
- 1 can (5 ounces) tuna in water, drained
- 1/4 cup finely ground catnip
- 1/2 cup whole wheat flour
- 2 tablespoons olive oil
Instructions:
- Preheat your oven to 350°F (175°C). Line a baking sheet with parchment paper.
- In a mixing bowl, mash the tuna with a fork.
- Add the catnip, whole wheat flour, and olive oil. Mix until a dough forms.
- Roll out the dough to about 1/4 inch thickness.
- Use a small cookie cutter or knife to cut out shapes.
- Place the treats on the baking sheet.
- Bake for 10-15 minutes, or until golden brown and crispy.
- Let the treats cool completely before serving.
3. Salmon & Sweet Potato Chews
This recipe combines the health benefits of salmon and sweet potato. Salmon is high in omega-3 fatty acids, which are good for skin and coat health.
Ingredients:
- 1 cup cooked salmon, flaked
- 1/2 cup cooked, mashed sweet potato
- 1/4 cup brown rice flour
- 1 tablespoon coconut oil
Instructions:
- Preheat your oven to 325°F (160°C). Line a baking sheet with parchment paper.
- In a mixing bowl, combine the flaked salmon, mashed sweet potato, brown rice flour, and coconut oil.
- Mix until well combined. If the mixture is too dry, add a little water, one teaspoon at a time.
- Roll the dough into small logs or use a cookie cutter to shape.
- Place the treats on the baking sheet.
- Bake for 20-25 minutes, or until firm and slightly chewy.
- Let the treats cool completely before serving.
4. Chicken Liver & Brown Rice Bites
Chicken liver provides a rich source of iron and other essential nutrients. These treats are a tasty way to give your cat a nutritional boost.
Ingredients:
- 1/2 cup cooked chicken liver, finely chopped
- 1/4 cup cooked brown rice
- 1/4 cup plain yogurt (ensure it contains no artificial sweeteners)
- 1/4 cup whole wheat flour
Instructions:
- Preheat your oven to 350°F (175°C). Line a baking sheet with parchment paper.
- In a mixing bowl, combine the chopped chicken liver, cooked brown rice, yogurt, and whole wheat flour.
- Mix until a dough forms. If the mixture is too dry, add a little water, one teaspoon at a time.
- Roll the dough into small balls or use a cookie cutter to shape.
- Place the treats on the baking sheet.
- Bake for 15-20 minutes, or until firm.
- Let the treats cool completely before serving.
5. Turkey & Cranberry Delights
This recipe offers a festive flavour combination. Cranberries add a touch of sweetness and are a source of antioxidants. Make sure the cranberries are unsweetened.
Ingredients:
- 1 cup cooked, ground turkey
- 1/4 cup unsweetened dried cranberries, finely chopped
- 1/2 cup oat flour
- 1 egg
Instructions:
- Preheat your oven to 350°F (175°C). Line a baking sheet with parchment paper.
- In a mixing bowl, combine the ground turkey, chopped cranberries, oat flour, and egg.
- Mix until a dough forms.
- Roll the dough into small balls or use a cookie cutter to shape.
- Place the treats on the baking sheet.
- Bake for 15-20 minutes, or until golden brown and firm.
- Let the treats cool completely before serving.
Tips for Success
Making homemade cat treats is a fun and rewarding experience. Here are some extra tips to ensure you have the best possible results.
- Ingredient Quality: Always use fresh, high-quality ingredients. The better the ingredients, the better the treats will be. Consider organic options whenever possible.
- Storage: Store your homemade treats properly. Keep them in an airtight container in the refrigerator for up to a week or in the freezer for longer storage. This helps maintain freshness and prevent spoilage.
- Portion Control: Remember that treats should be given in moderation. Treats supplement a balanced diet. Don't overfeed your cat, and adjust the amount based on your cat's size, age, and activity level.
- Introduce Gradually: Introduce new treats slowly. This helps you monitor your cat's reaction and prevents any digestive upset. Start with a small amount and gradually increase the portion.
- Monitor Your Cat: Pay attention to your cat’s reaction to the treats. Watch for any signs of allergies, such as scratching, vomiting, or diarrhea. If you notice any adverse reactions, discontinue the treats and consult with your veterinarian.
- Experiment: Don’t be afraid to experiment with different recipes and ingredients. Once you have the basics down, you can adapt recipes to suit your cat’s preferences and any dietary needs. There are endless possibilities!
Example: One cat owner, upon making the chicken and pumpkin bites, quickly learned that her cat loved them. She then experimented with different shapes and sizes to see what her cat preferred. She also started adding a sprinkle of catnip to some batches. The results were delightful, and the cat now waits eagerly for treat time.
Common Mistakes: Overlooking the importance of proper storage can lead to the treats becoming stale or, worse, developing mold. Also, neglecting to adjust the treat amount to the cat's weight and activity level can cause overeating. Don't forget to always check the ingredients list for potentially harmful additives.
Expert Tip: Make a double batch and freeze half of the treats for future use. This ensures you always have fresh treats on hand and saves you time.
Recommended Products for Making Homemade Cat Treats
To make your treat-making experience even easier, here are a few recommended products that can help:
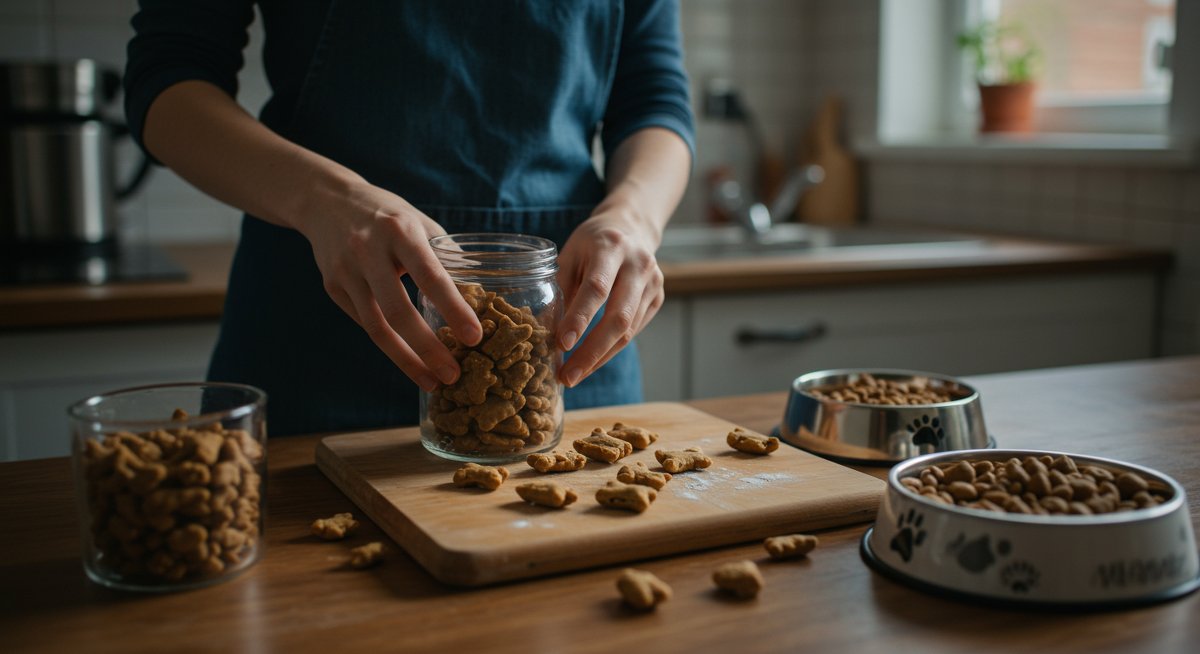
- Treat Containers: Having a dedicated treat container is a great way to store your homemade cat treats. This will keep them fresh and organised. Some great options include: airtight glass jars or plastic containers.
- Measuring Cups and Spoons: Accurate measurements are essential for consistent results. Look for a set that is easy to clean and has clear markings.
- Digital Kitchen Scale: A digital kitchen scale can help ensure you have the correct amounts of ingredients, especially for small amounts. This is very helpful if your cat has any dietary needs.
- Food Processor: A food processor can save time and effort when chopping or pureeing ingredients.
- Cookie Cutters: Cookie cutters can make treat-making more fun and create fun shapes. Just make sure to choose cat-themed shapes.
Example: John decided to fully equip his kitchen for homemade cat treats. He got a Airtight Treat Container to store treats and a Digital Kitchen Scale for precise measurements. He found that the treats stayed fresher, and the recipes were consistently better with these tools.
Common Mistakes: Overlooking the need for a good, airtight container leads to treats drying out quickly. Not using a digital scale can result in inconsistent recipes, which may affect how your cat enjoys the treats. Be sure to choose tools that make the process easy and enjoyable.
Expert Tip: Start with a basic set of tools, and gradually add more as you gain experience. You don't need to buy everything at once.
Quick Troubleshooting Guide
Sometimes, things don’t go exactly as planned. Here’s a quick guide to address common issues:
- Treats are too dry: Add a teaspoon of water or oil to the mixture. You can also reduce the baking time.
- Treats are too crumbly: Add a little more wet ingredients, such as an egg or some pumpkin puree.
- Treats won't hold their shape: If using cookie cutters, chill the dough for 30 minutes before cutting. Make sure your ingredients are mixed evenly.
- Cat doesn't like the treats: Try a different recipe or adjust the ingredients to see if your cat prefers a different flavour or texture.
Example: One cat owner, when first making treats, found that her first batch of chicken treats were too dry. She added a tablespoon of chicken broth, and the treats became perfect. Learning to adjust the recipes to your cat's preference is one of the greatest benefits of making your own treats.
Common Mistakes: Not adjusting the recipes based on the outcome, or giving up too easily. Every cat is different, and sometimes you have to try a few recipes before finding the perfect match.
Expert Tip: Keep a notebook to document your recipes and any adjustments you make. This will help you remember what works and what doesn't.
Next Steps in Your Pet Parenthood Journey
Making homemade cat treats is a wonderful way to show your cat you care while providing them with a healthy and enjoyable snack. As a new cat owner, you're likely learning new things every day. Don’t be afraid to experiment with different recipes. Most importantly, spend quality time with your cat. This is the most rewarding part of being a cat parent.
As you grow more confident in your treat-making skills, you can explore other aspects of cat care. Consider researching different types of cat food, learning about cat behavior, or looking into interactive toys that keep your cat stimulated. Learning about your cat's needs is something you will be doing for many years. Consider creating a routine for making treats, maybe once a week, or every other week. This is a good way to guarantee your cat always has some treats available.
If you're on this journey too, I'd love to hear how it goes for you. Let me know what your favorite homemade cat treat recipe is. And don’t forget, every small act of love and care makes a big difference in your cat’s life. Happy treat-making!